Revision History:
- 2024-11-30: Initial release
- 2025-9-20: Updated for Gen 2 270 Awning
1. Insert 2 bolts * 3 into the track at the back of the awning, as shown in the picture below. Use 2 bolts for each of the three awning mounts.

2. Secure the awning mount with the self-locking nuts (don’t fully lock it yet), making sure the orange-marked curve faces downward toward the lock marked with the orange square.

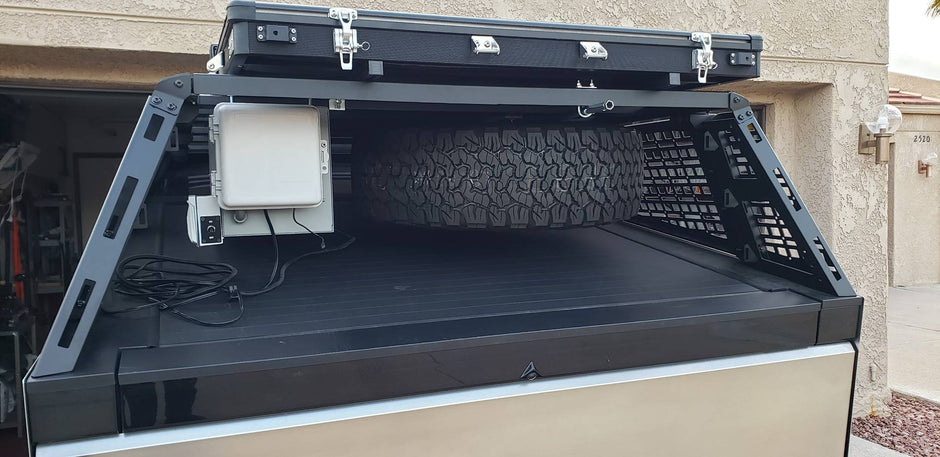
3. Insert two spring nuts into the three crossbars you plan to use for mounting the awning, then slide them to the side of the rack


4. Have a friend or two hold the awning in place. Slide the middle mount along the back T-track to line up with your chosen crossbar. Fasten the middle mount first to support the awning (don’t fully lock it yet), then attach the front and rear mounts to the crossbars

5. Slide the awning on the three mounts, making sure the rear end is flush with the rack.

6. Tighten the nuts on all three mounts to secure them to the back of the awning.
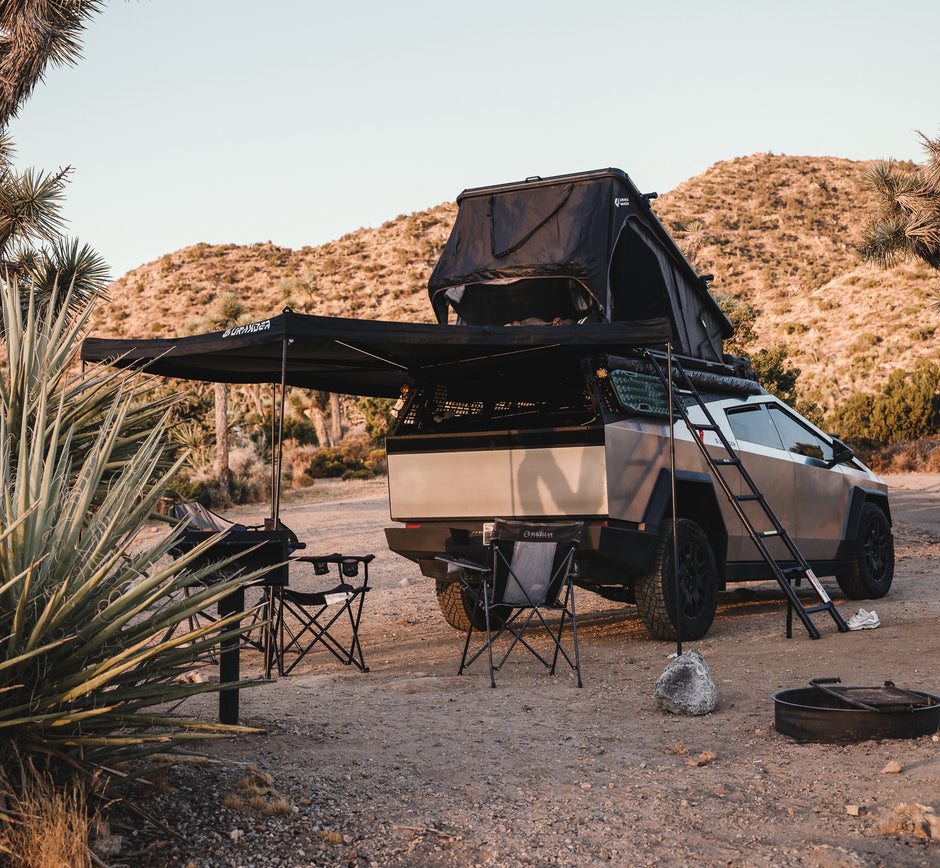
 7. Then slide the mounts or push the awning from the outside of the truck until it sits close to but not touching the rack. Finally, secure the mounts to the crossbars
Open & Close


